 |
||||||||||||||||||||||||||
  
Creating Signs General overview and introduction. This is page 1 of 4. Page 1: General overview and introduction. Page 2: Creating a wall mounted billboard. Page 3: Creating a roof top marque. Page 4: Creating faded painted text. This is not a complete list by any means. It's just some ideas to get you started. Some of the types of materials used to create signs are:
A note about Water Slide decals Water slide decals can come in many colors but the two most common colors are clear and white. It can be very difficult to tell the difference just by looking at them so make sure you check the packaging label. Also, water slide decals that you print on with your home computer/printer are designed specifically for either ink jet printers or laser printers - they are generally NOT interchangeable. A note about Dry Transfer decals When sealing dry transfers to your structure, if you are using Dull-coat or a similar substance, just "dust" the dry transfers with the Dull-coat. If you apply too much, the Dull-coat will dissolve your try transfers! It will not look faded... it will look blurry! Off-line sources for signs and sign materials:
Don't in a RUSH! When working with paint know these differences: Dry: How long it takes before you can handle the paint without leaving fingerprints or smudge marks. Working over the paint with new substances at this point can lift the paint off, fade it, or blend the colors. Cure: How long it takes before the paint has 100% hardened. At this point you can re-coat the paint or continue to work on it with a new substance without having to worry about ruining the paint. When you don't need to see detail "through" a sign (such a clapboards or bricks) the easiest signs to create are to simply print on 8 1/2" x 11" lables from an office supply store. You simply print your image, cut it out, peel the back and stick it on your model. This billboard is just a sticker. 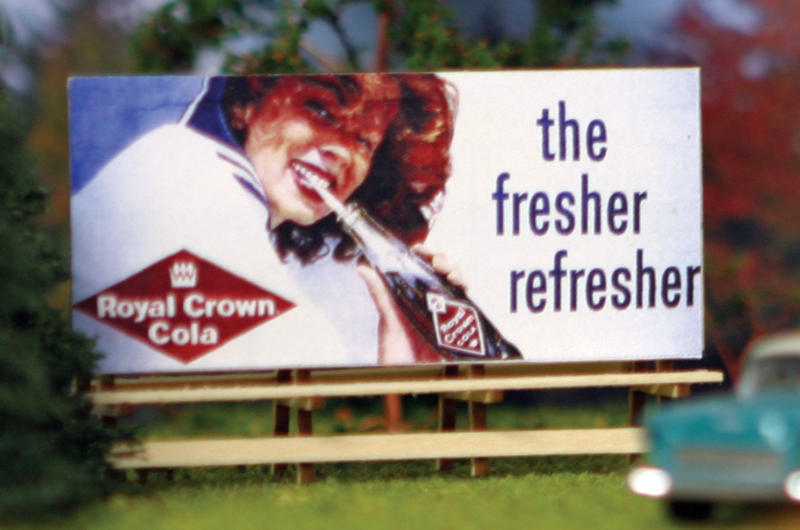 The letters on this false front structure are a clear water slide decal. 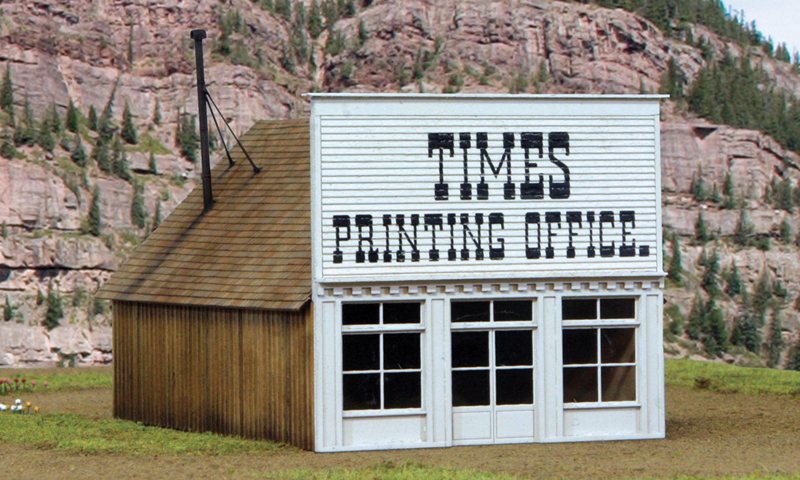 When working with water slide decals these are the steps I take. You can use other methods but this is what I have found works best for me. I can sometimes take several days to get the decals on a set - but I want my model to be as good as it can be and I have found that, at least for me, this is not an area I can afford to take shortcuts on. Go ahead and check the photo again. Can you see any decal film seams? There was no photoshop touch-up on this image. You can't tell if I used a solid decal the size of the false front or if the decal was cut out around the letters/words.*
"The Clam Box" is a clear water slide decal. Again, no decal film lines. The "Fried Chicken" and "Fried Clams" are just printed on card stock. 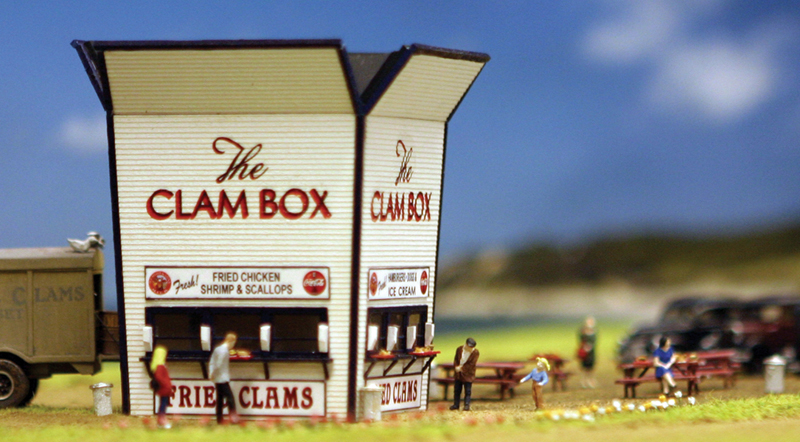 From Cactus to Cactus that's one long 9" single water slide decal. The "Santa Fe Cafe" sign is a sticker applied to a laser cut shape. 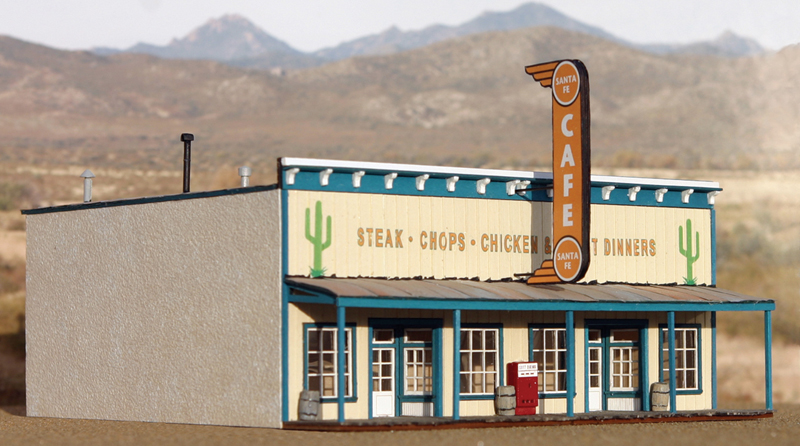 All the signage on this building is clear water slide decals. Note the weathering was done to the structure before the decal was placed on and that it shows through the decal. 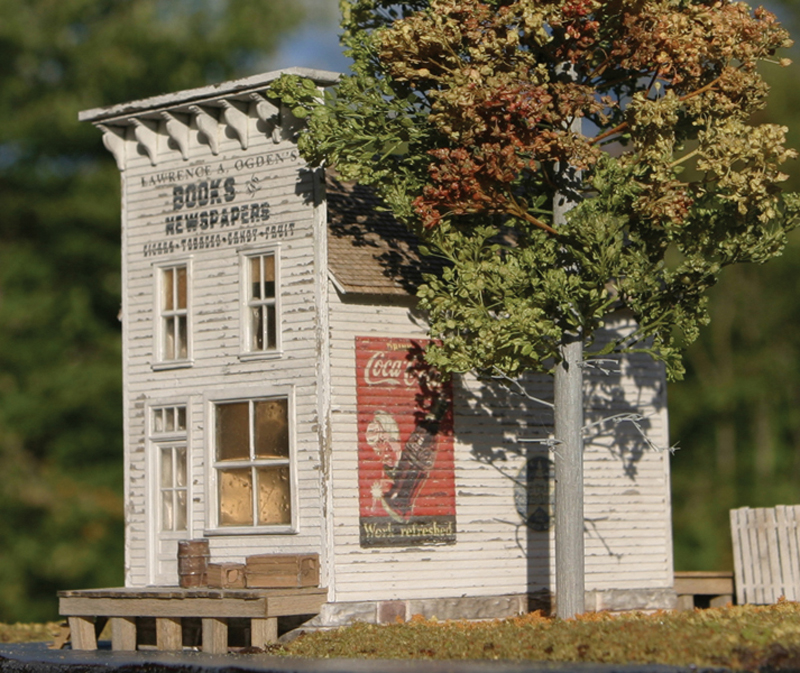 All the printed signs on this structure are paper. The "Bull Head" is laser cut. 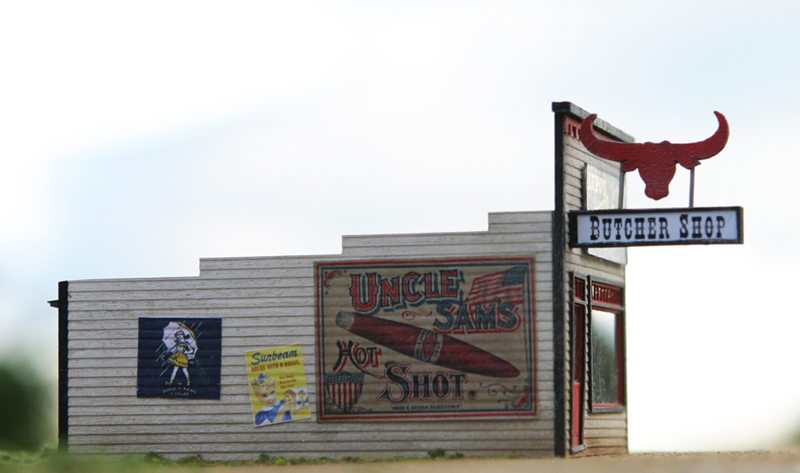 The "Rex Flour" sign used here is a white water slide decal. I wanted it to look like the wall was painted white first and then the billboard to have been painted over the white rectangle. The post office sign is just card stock. 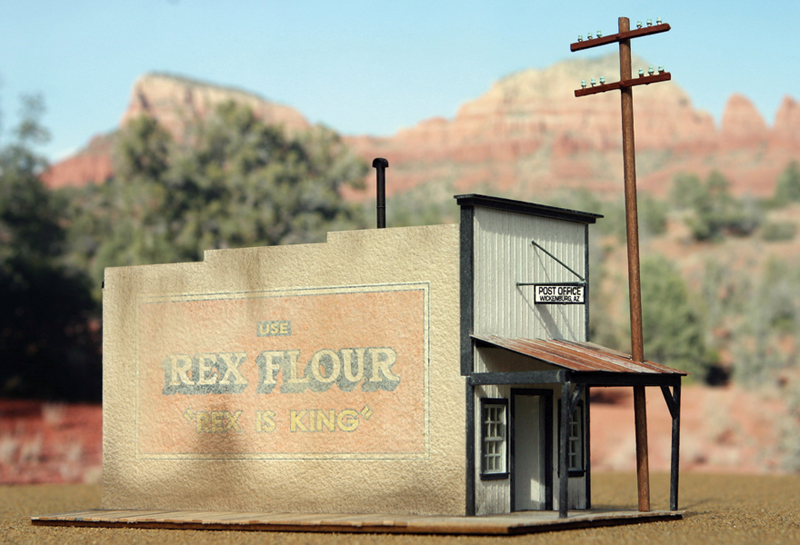 This is page 1 of 4. Page 1: General overview and introduction. Page 2: Creating a wall mounted billboard. Page 3: Creating a roof top marque. Page 4: Creating faded painted text. |
||||||||||||||||||||||||||
|
© Bollinger Edgerly Scale Trains. Legal. |
||||||||||||||||||||||||||

|
||||||||||||||||||||||||||