 |
||||||||||||||||||||||||||
  
Creating Signs Creating a wall mounted billboard. This is page 2 of 4. Page 1: General overview and introduction. Page 2: Creating a wall mounted billboard. Page 3: Creating a roof top marque. Page 4: Creating faded painted text. This is the wall mounted sign we are going to make. 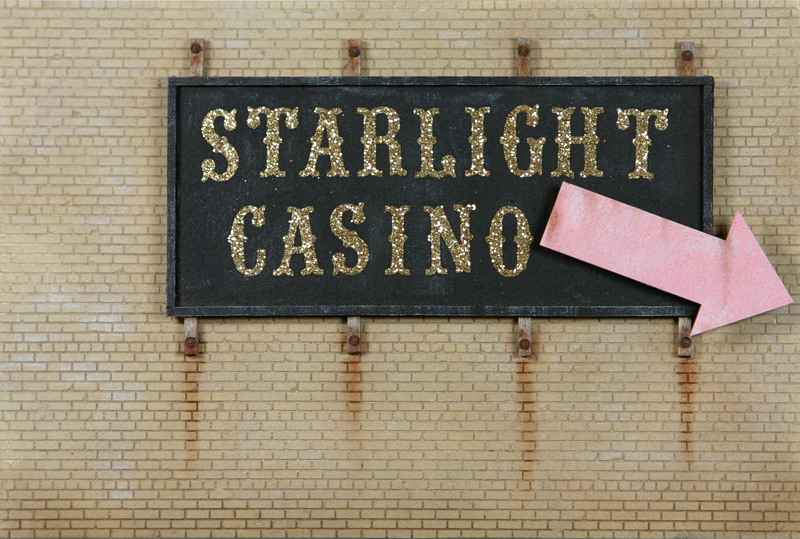 A cookie box was used for the sign backing and the arrow. (Once you eat the cookies there is no cost for the box.) 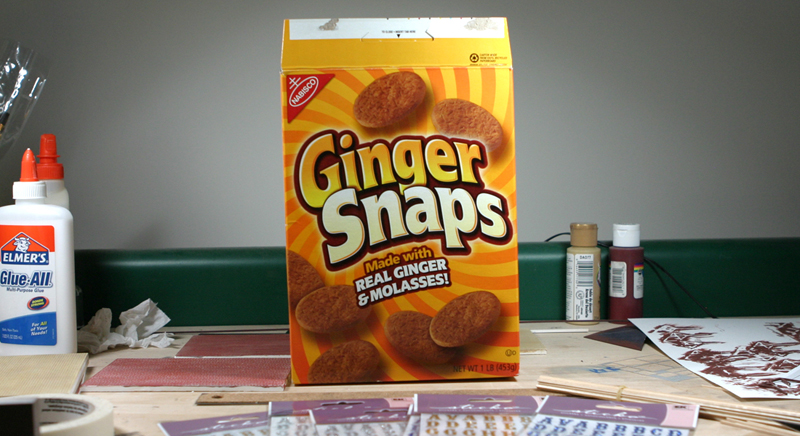 These letter sets were from Walmart and cost only $1.00. Yes they did have non-sparkly letters but I wanted that cheesy Las Vegas look to my sign.  I drew the shape of the sign and the arrow and cut them out with a pen knife. 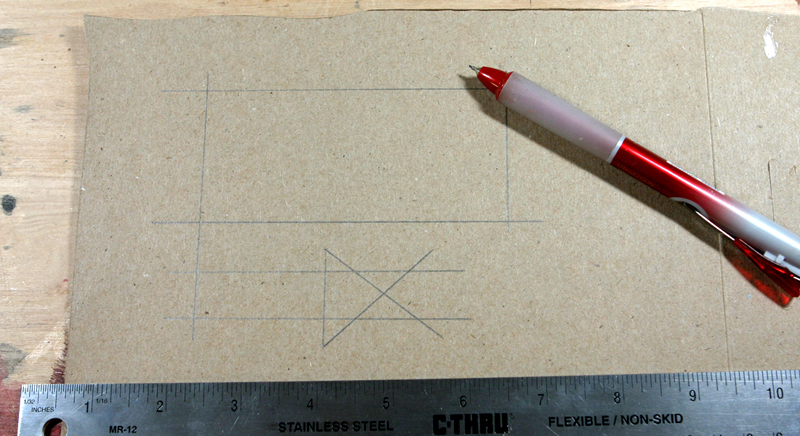 I glued a border around the backing using 1/16" x 1/16" strip wood. (about 33 cents) 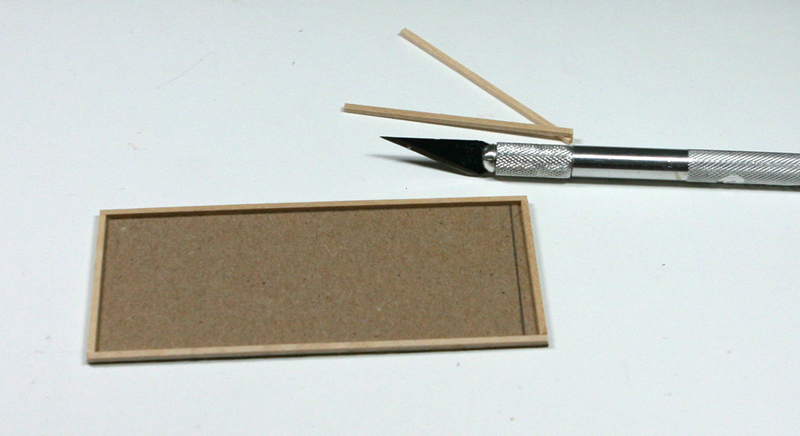 It was spray painted flat black. 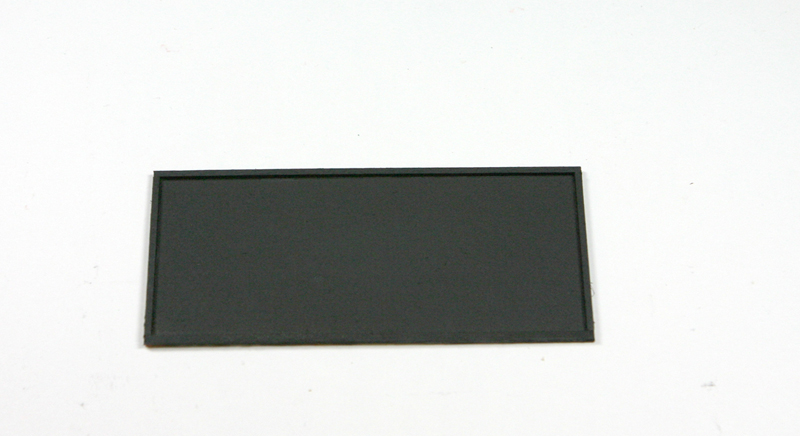 The sparkly letters. 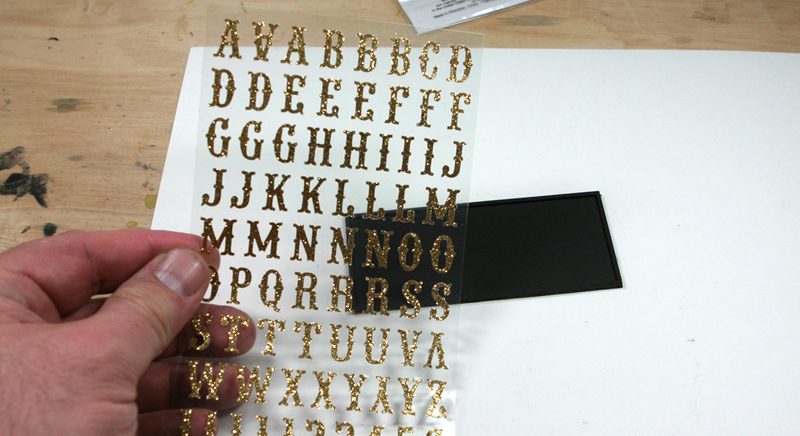 I used tweezers to peel the letters and place them on the sign backing. 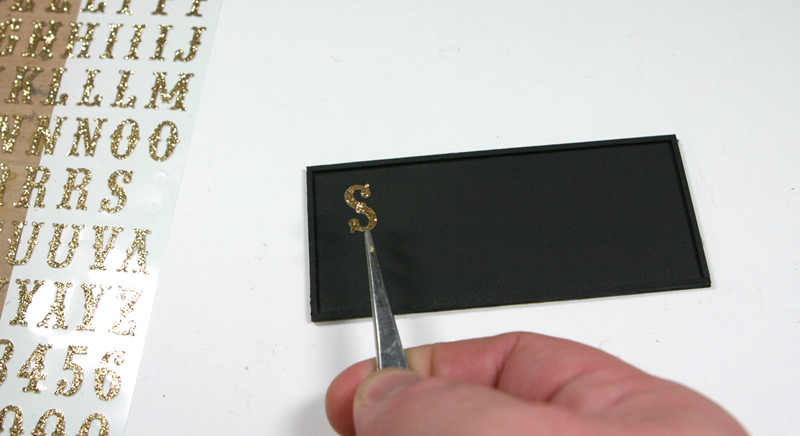 The casino sign. 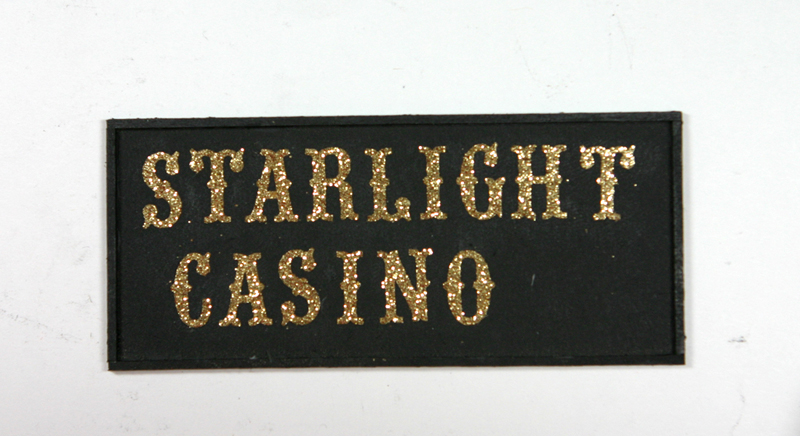 I used 3/32" x 3/32" strip wood for the wall mounts. (about 35 cents) They should be cut about 1/2" - 1" taller than the sign. 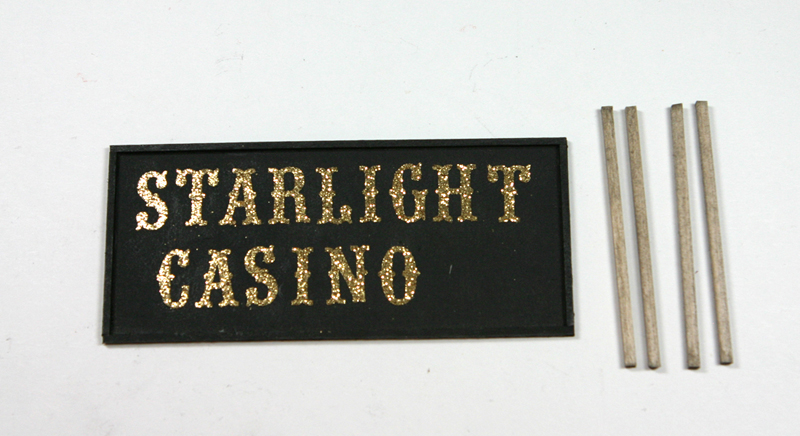 Hex Nut & Washer from Tichy Train Group. ($3.00 for 96 pieces - I used 12 cents worth) 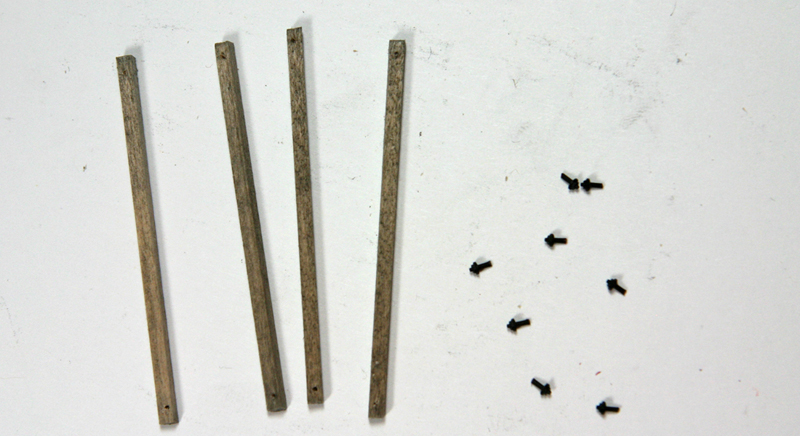 Drill a small whole at each end of the wall mount board and glue the hex/nut/washers in place. 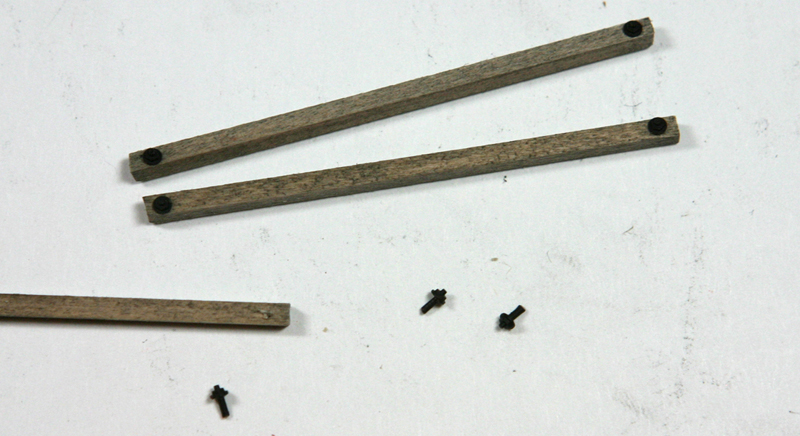 Glue them to the back of the sign with the hex/nut/washers facing to the front of the sign. 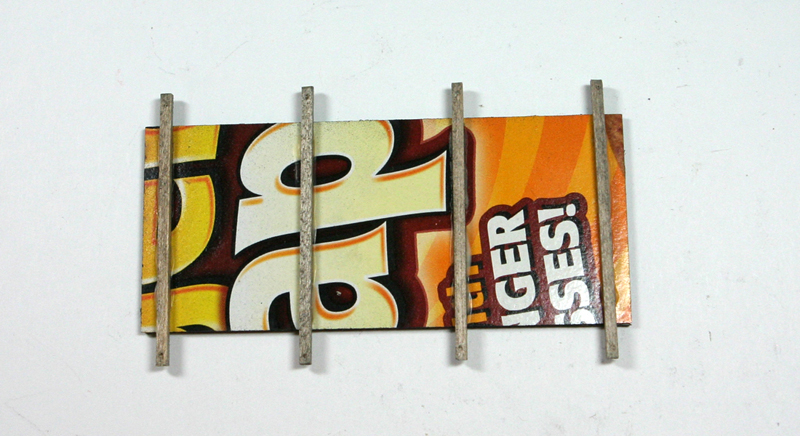 The sign with the wall mounts attached. 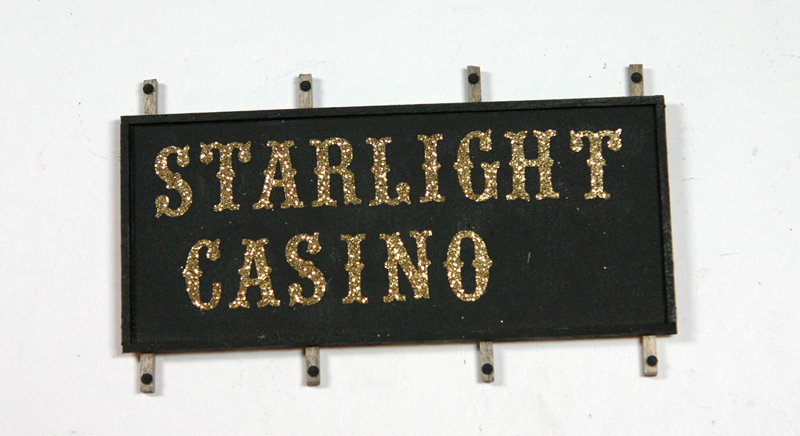 The sign with the arrow added. 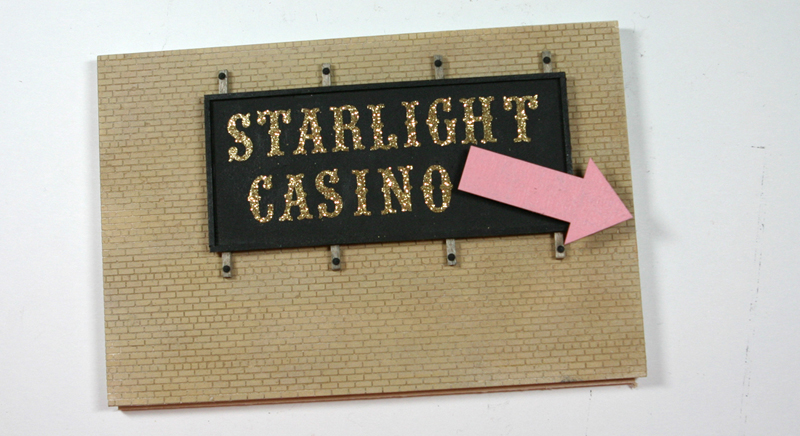 I dry brushed the sign and wall to bring out the highlights then added weathering powders for the rust. 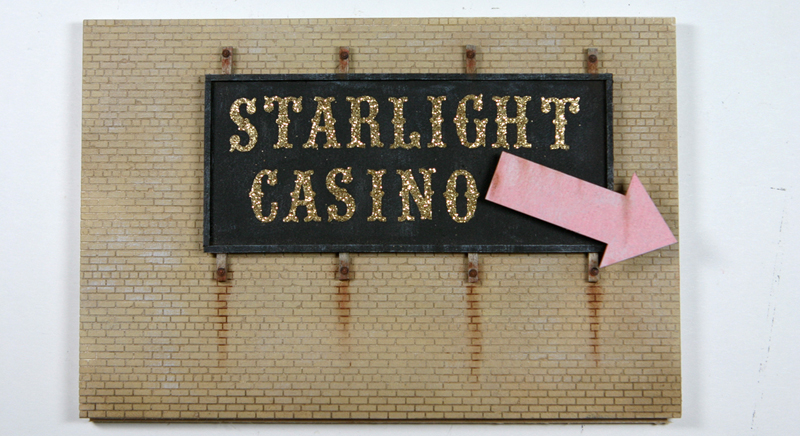 This is page 2 of 4. Page 1: General overview and introduction. Page 2: Creating a wall mounted billboard. Page 3: Creating a roof top marque. Page 4: Creating faded painted text. |
||||||||||||||||||||||||||
|
© Bollinger Edgerly Scale Trains. Legal. |
||||||||||||||||||||||||||

|
||||||||||||||||||||||||||